In a recent blog post about journalists using technology to make their lives and jobs easier, I mentioned that I created templates in Illustrator of the maps we use the most. I saved those as SVGs and then turned those SVGs into HTML. The heavy lifting was writing code for a map generator that would allow me to copy and paste spreadsheet data to color-code the maps for me. It took some time, but it paid off. It creates responsive maps that I can easily pluck onto the website, but I can also print-to-PDF those suckers and have the basis for the print version. People who have made vector maps will know that the “old way” of having to select each state/county individually to color-code it was a pain. And fraught with the possibility of introducing error.
Mr. Map Generator has maps of the US, Massachusetts and Boston. For this post, I’ll explain how to use the US map generator, though the concepts will be almost the same for the other map generators.
GETTING STARTED
1. We’ll start with a spreadsheet. I usually use a Google Spreadsheet or an Excel Spreadsheet. In our fake spreadsheet, we will pretend it’s a spreadsheet about the “Dawson’s Creek” finale, showing the percentage of people in each state who rooted for Joey to end up with Pacey, Dawson, or neither. Obviously, these are made-up numbers, because most people will agree that Joey should have ended up with Pacey. But for the sake of this exercise, we will pretend.
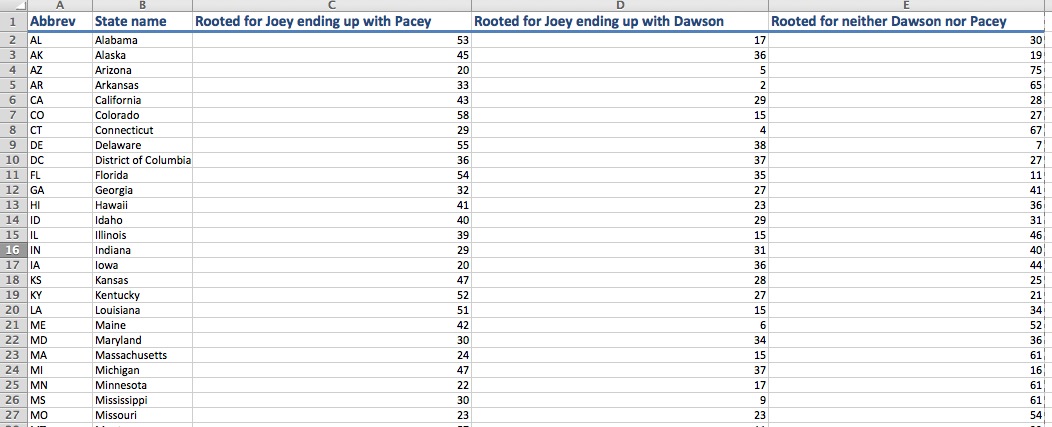
Format your data with state postal codes in the first column, state names in the second column, and data in however many columns you want, starting with the third column. You can download a zip for the responsive files here or if you just want to make a print map, download the Excel template here. Neither the postal codes or state names need to be in any order.
2. On the page of the US map generator, paste your data in the field that says, “Paste your data in this field.”

3. After pasting your data, click on the button that says, “Click here to select your data set.”

4. After you’ve done that, you’ll get a button that shows you the columns from your spreadsheet. In this scenario, as we’ve created a fake spreadsheet, our options are “Rooted for Joey ending up with Pacey,” “Rooted for Joey ending up with Dawson,” and “Rooted for neither Dawson nor Pacey.” For the sake of this exercise, I’ve clicked on those who “Rooted for Joey ending up with Dawson.” Which, of course, was not how it ended.

5. Step 5 allows you to select your color from the options of red, blue, a gold/yellow, green, and purple. Step 6 allows you to decide whether you want the map to have 2, 3, 4 or 5 colors, or to be a chloropleth where the smallest value is the lightest shade and the largest value gets the darkest shade.
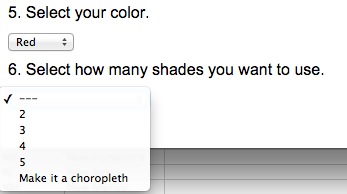
6. In our case, we’ve opted to have four shades of red. The generator is designed to calculate your smallest value and your largest value, and then calculate the ranges in between those two values. I strongly suggest not leaving those values as is, for a variety of reasons:
- Outliers that skew the ranges
- Ranges that aren’t intuitive (6.1-11.6, 11.6-17.1, etc.)
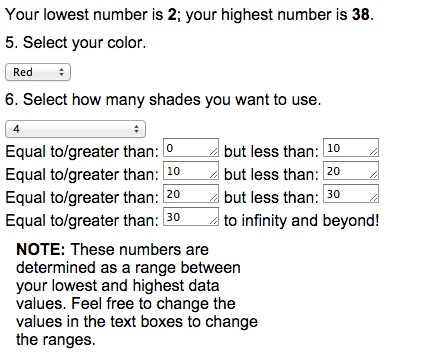
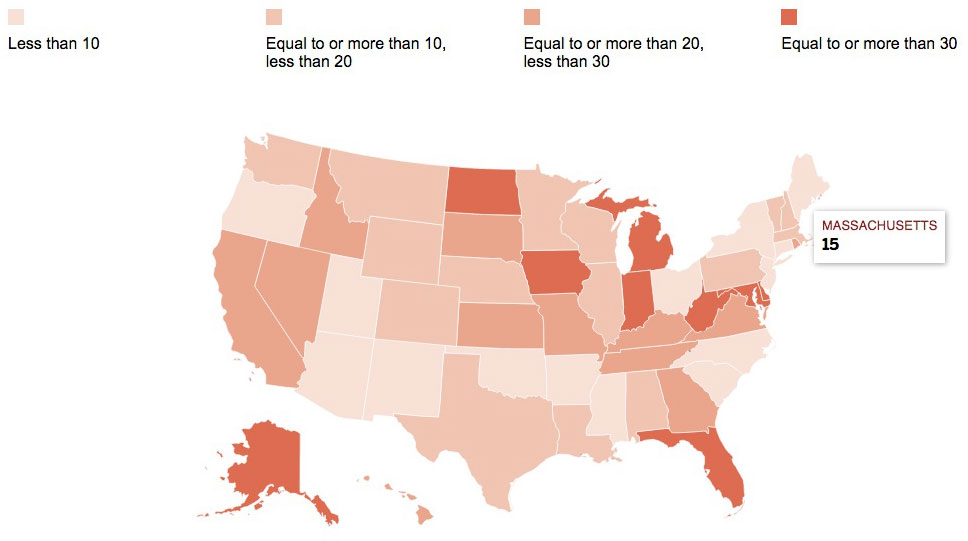
7. Once you have selected your color and ranges, you can click a button to preview your map. Do that.

Here’s what your map will look like:
8. You’ll then have the option to generate your code. It will appear in a text box.

9. To make a web version, download these files if you didn’t already do so in the first step. Copy the code in the box above and paste it inside the file called code.js. Then open the HTML in a browser. You don’t have to edit or change any of the other files. When you upload it to your server space, you’ll need four files:
- code.js
- map.css
- US-map.htm
- US-responsive.js
10. You’ll need to add a key/legend on your own. If you inspect element on this page, you can copy the HTML you’ll need and can plunk it into US-map.htm before uploading it.
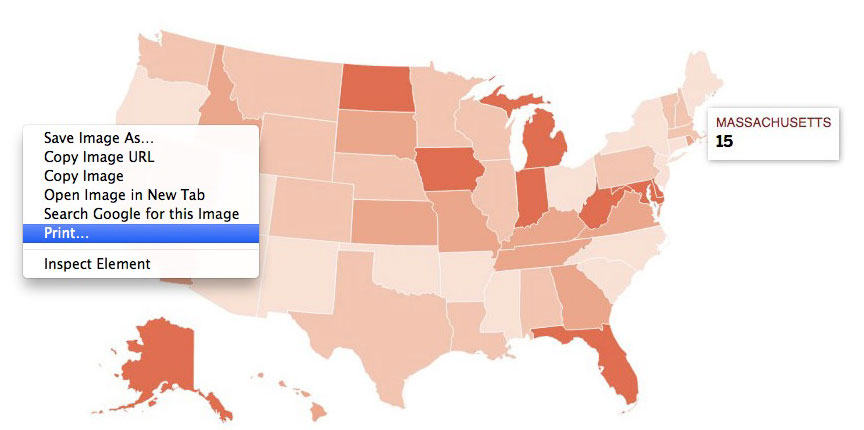
11. To use this to make a vector print map, right click and select “Print.”
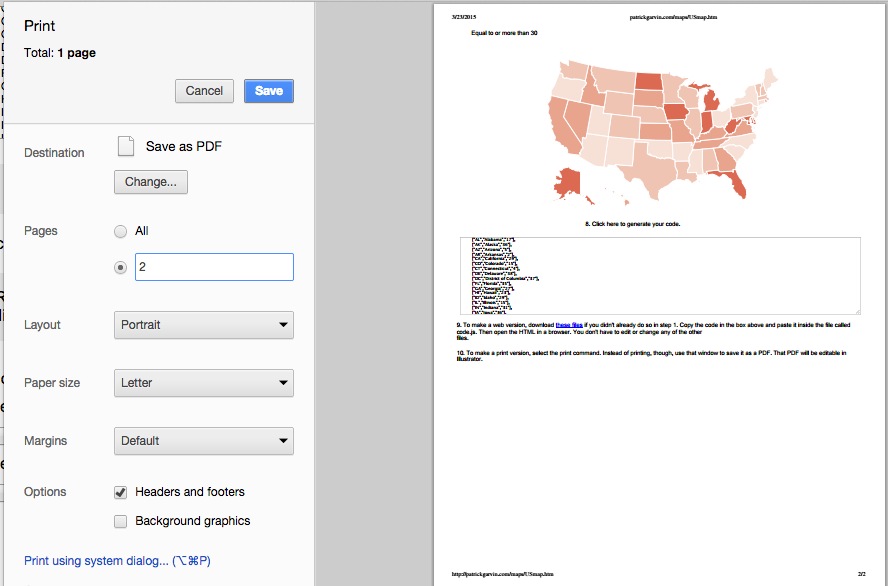
12. In the print dialog box, select “Save as PDF.” I usually have it only save page 2 of the PDF, rather than saving the entire file.
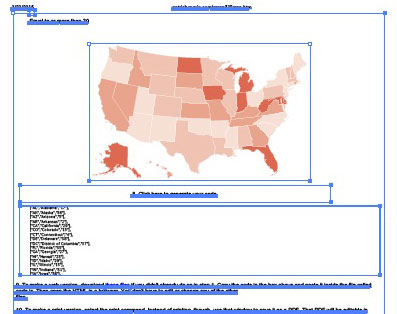
13. I then open that PDF in Illustrator. Using the white arrow, I select everything I want to delete. I delete until all is left is the shapes of the states.
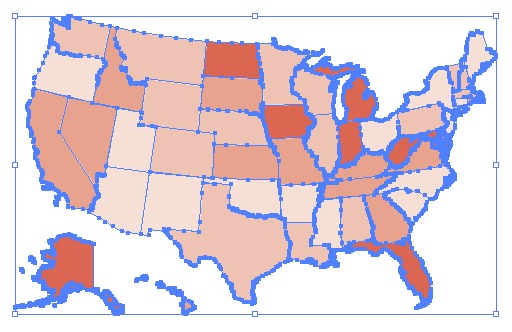
14. Once I’ve deleted the extra parts from the PDF, such as text characters, I have only the map left. I then plug that into a Globe template file. I’ve done enough of these that I have a starter file with the state labels in place.
If you see yourself making a lot of these, having an Illustrator template with a layer of labels is not a bad idea.
<b>RELATED:</b> How to make your own Mr. Map Generator with your own SVG
