
A few days ago, I wrote about a responsive mapping tool I created called Mr. Map Generator and explained how to use it. Charles Apple blogged about the reasons behind why I created the tool. In the days since, people have reached out to ask me how they could make similar generators for their own cities, states, countries, and so forth.
The aim of this post is to walk you through the process of how to do that, starting with an Illustrator AI file and ending with testing it to make sure it works. It might seem like a tedious process, but it will be worth it in the end when you can easily generate maps rather quickly.
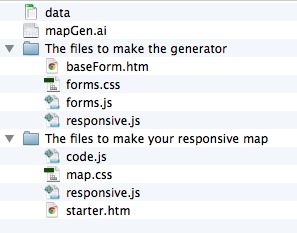
Here is a zip file that includes all you’ll need:
- An Excel file for your data
- An Illustrator file I’ve created for this exercise
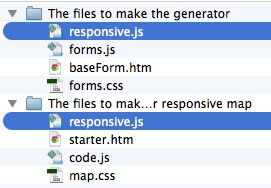
- A folder called “The files to make the generator”
- A folder called “The files to make your responsive map”
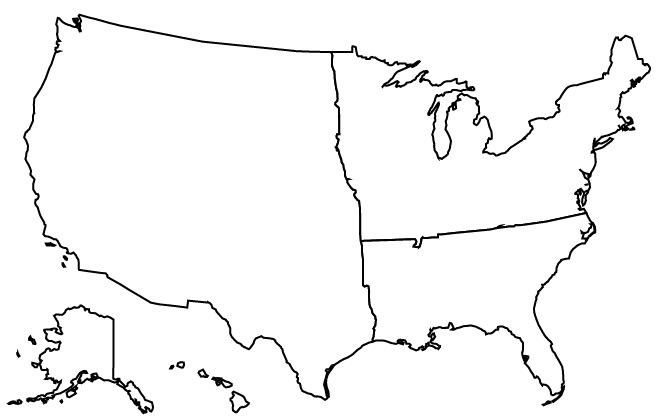
Open up the Illustrator file called mapGen.ai. In this example, I’ve put together a map that divides the US into three regions: the west, the southeast and the northeast. This was an arbitrary selection of just grabbing states and making a path with the pathfinder tool. Meaning that… No, I don’t think the northeast extends down to the midwest. It’s simply relative to the other shapes, as it is the most northern and eastern of those shapes.
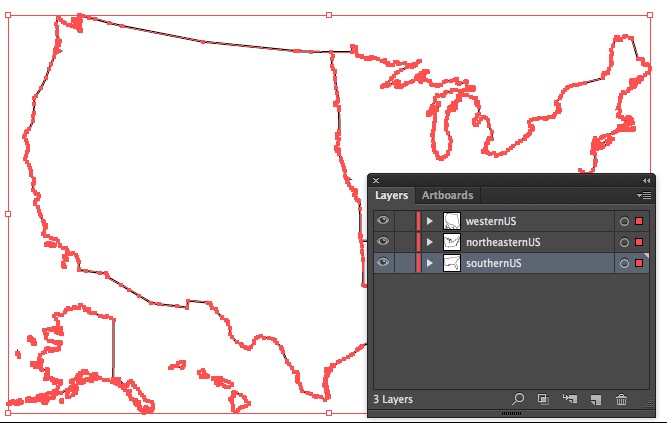
Each section of the map has its own layer in the Illustrator file. Furthermore, each layer has a name describing the content of said layer: southernUS, northeasternUS, westernUS. These names are one word, with no spaces or breaks. This is important.
To be safe, I select everything in the layer and then use the pathfinder tool to combine those elements to make a compound path. You can also go to the objects menu, select compound path and then select make.
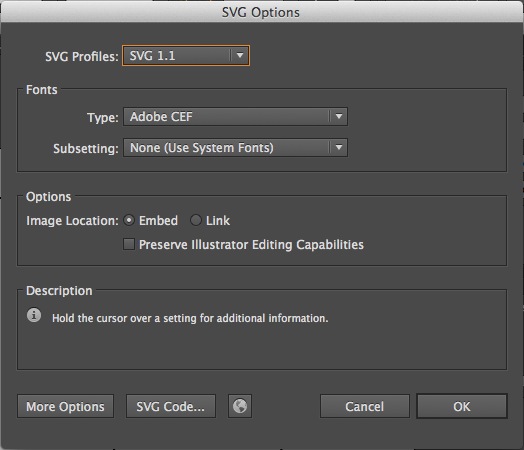
Save the Illustrator file as an SVG. It’s easy to do in the “Save as” settings.
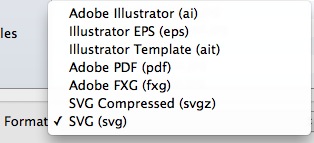
Illustrator will give a pop-up and you can leave it be.
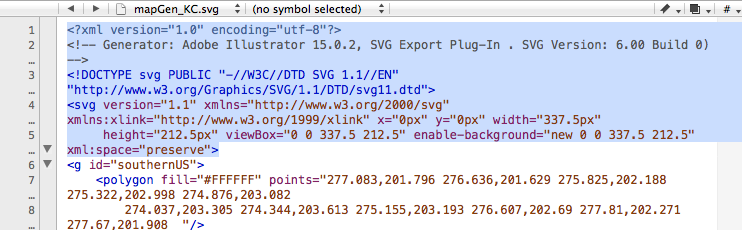
Once you’ve saved the file as an SVG in Illustrator, open it in a text editor. Programs like Notepad or TextEdit are free with your computer. They are perfectly functional, but I use TextWrangler, which you can download for free. It color-codes tags in HTML and makes it easier to organize what you’re writing.
When you open the file in a text editor, it could look rather daunting if you’ve never looked at SVGs in text editors. Looks like a lot of gibberish, right?
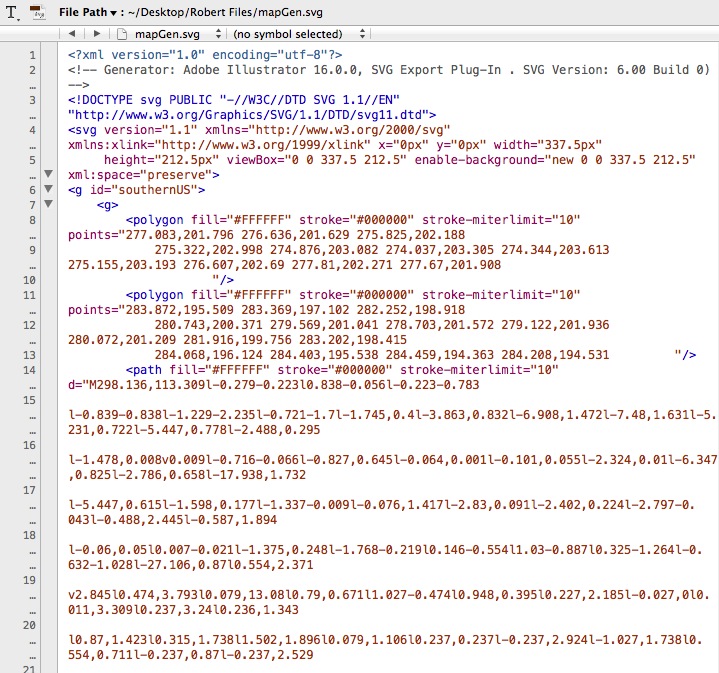
And yet while it looks foreign at first, certain things will look familiar. Just as p tags and div tags need opening tags and closing tags, so do g tags. For the sake of this exercise, let’s think of g tags as like div tags for SVGs.
Look on one of the earlier lines in the code, probably around line 6.
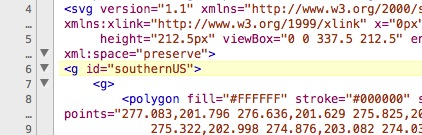
You see that, right? Of course you do: one of the g tags has an ID of “southernUS.” It has that ID because that’s the name of one of the layers from the Illustrator file. Whatever those layers are called will be the same names used as the IDs for the corresponding g tags. That’s why it’s important to name them something easier to distinguish from each other than just using “Layer 1,” “Layer 2” and “Layer 3.”
Look just above that line to line 5, particularly the part that says “viewBox.”
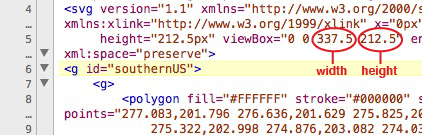
Look at the part that says viewbox=”0 0 337.5 212.5.” That 337.5 means the box for your SVG is 337.5 pixels wide and 212.5 means it is 212.5 pixels tall. We’re going to eventually delete that part, but before we do, write down those two numbers somewhere or copy them into another file.
Write them down yet? Ya sure? OK, good.
In your text editor, highlight everything from the first line until the space just before the first g tag.
Got it highlighted? Good. Now delete that.
At the bottom of the document, highlight everything after the last closing g tag. And then hit delete.
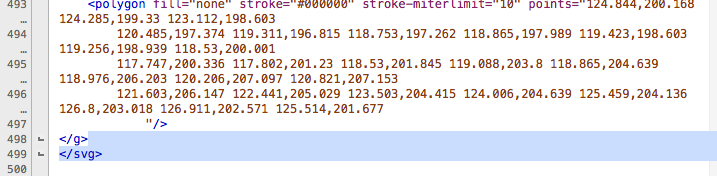
Now we just have to clean up the file a bit.
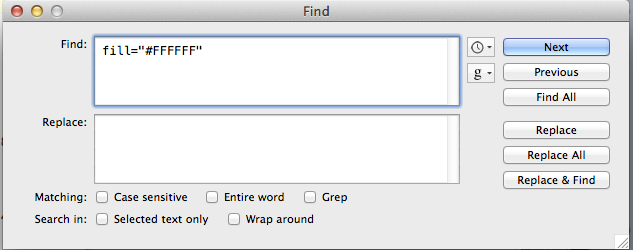
In my original file, the shapes had a black stroke and a white fill. We want to get rid of that. Do a find-and-replace search for fill=”#FFFFFF” and replace it with nothing.
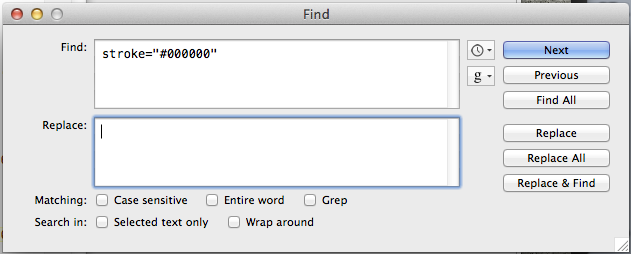
Next, do a find-and-replace search for stroke=”#000000″ and replace it with nothing
The last find-and-replace search is to find all the g tags that include an id. Our file will have three.
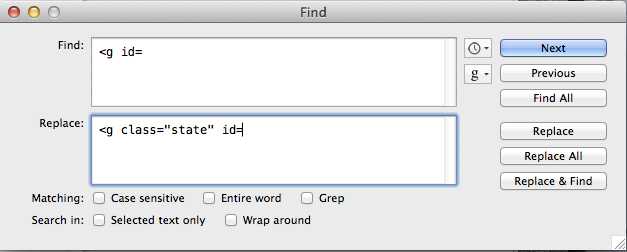
By adding class=”state,” we are assigning a class to our three g tags. That class is defined in the CSS files already downloaded.
Now select all that’s in the document and copy it. We’re ready to add it to our two different HTML files.
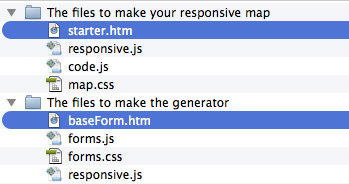
We have two files: baseForm.htm and starter.htm. The first one, baseForm, is the template for the page where you actually paste your data, click the buttons, decide your colors, preview your map, etc.
The other file, starter.htm, is the blank file that will become your map that you post.
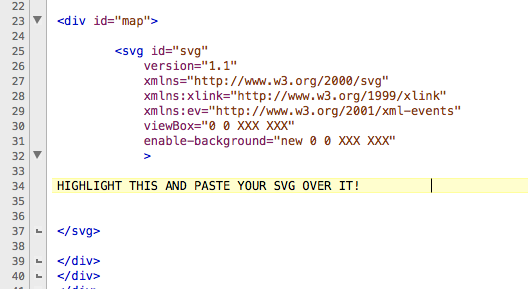
In both files, look for the part that says, “HIGHLIGHT THIS AND PASTE YOUR SVG OVER IT!” Highlight that part, and well, do what it says: Delete it, and paste your SVG that you’ve cut and pasted.
In starter.htm, that is going to be on line 34.
In baseForm.htm, that is going to be on line 89.

While you’re in those files, notice the parts that say “viewBox” and “enable-background.” Particularly, notice that they each include a line that says “0 0 XXX XXX.”
This is why I told you to write your width and height down. Or paste it somewhere. Because now you need it.
Paste over “XXX XXX” with your actual width and height. So if your SVG had a width of 300 and a height of 400, “0 0 XXX XXX” should become “0 0 300 400.” In our case with our files, we had a width of 337.5 and a height of 212.5, so we changed “0 0 XXX XXX” to “0 0 337.5 212.5” in our files.
Save the two HTML files, close them, and go back to the two folders. In both folders, there will be a JS file called responsive.js. Open both of those.
The top three lines of each one will look like this:

In both files called responsive.js, change the XX to reflect the appropriate value. Our exercise, with our three regions of the US, had a width of 337.5 and a height of 212.5.

Save the JS files and close them. The only thing left now is to format your spreadsheet.
In the zip file you downloaded, open the Excel spreadsheet called data. It should be blank and look like this:
![]()
We have three columns: “G id name that matches layer names in Illustrator,” “What name you want to appear in the rollover,” and “Dataset.”
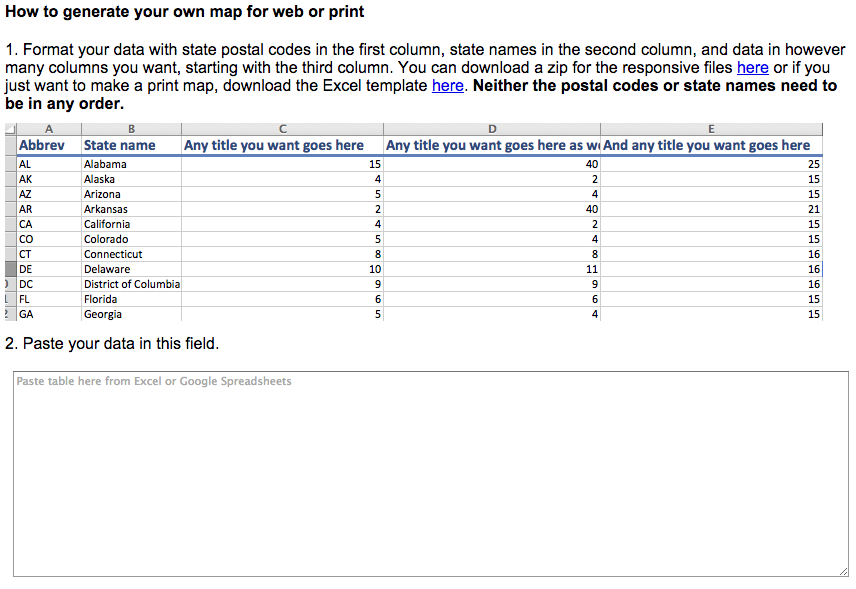
We’ll use an example from the previous blog post about how to use Mr. Map Generator. Here is a screen grab we had of state-by-state data about the “Dawson’s Creek” finale, showing the percentage of people in each state who rooted for Joey to end up with Pacey, Dawson, or neither.
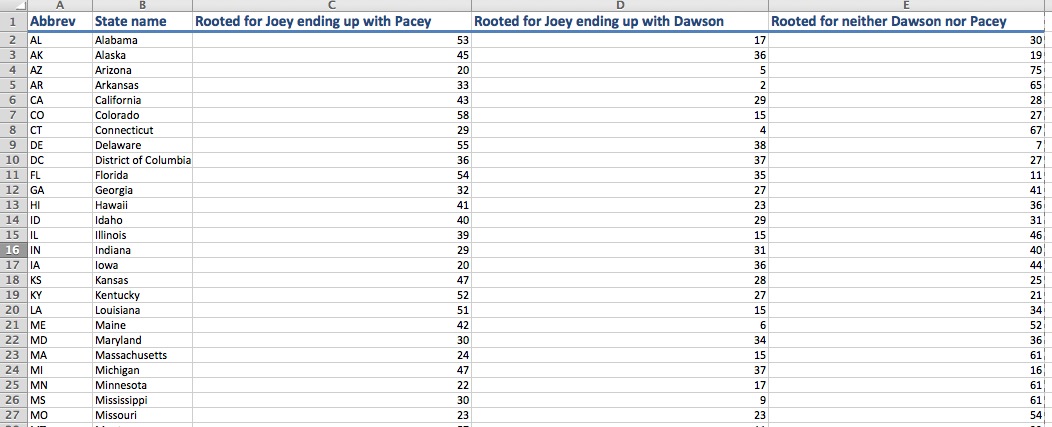
Notice that the first column is the US postal codes, the second is the name of those states, and columns three through five are actual numbers.
The postal codes match the names of the g tags in the SVG. So, the row with MA in the first column corresponds to Massachusetts, and the g in the SVG has an id of MA. For this to work, the text in the first column has to match the g tags in the SVG files.
In our Illustrator file, we gave the layers these names: southernUS, northeasternUS, westernUS. Thus, our g tags have the ids of southernUS, northeasternUS, and westernUS. Thus, we have to use those in our first column in our Excel spreadsheet.

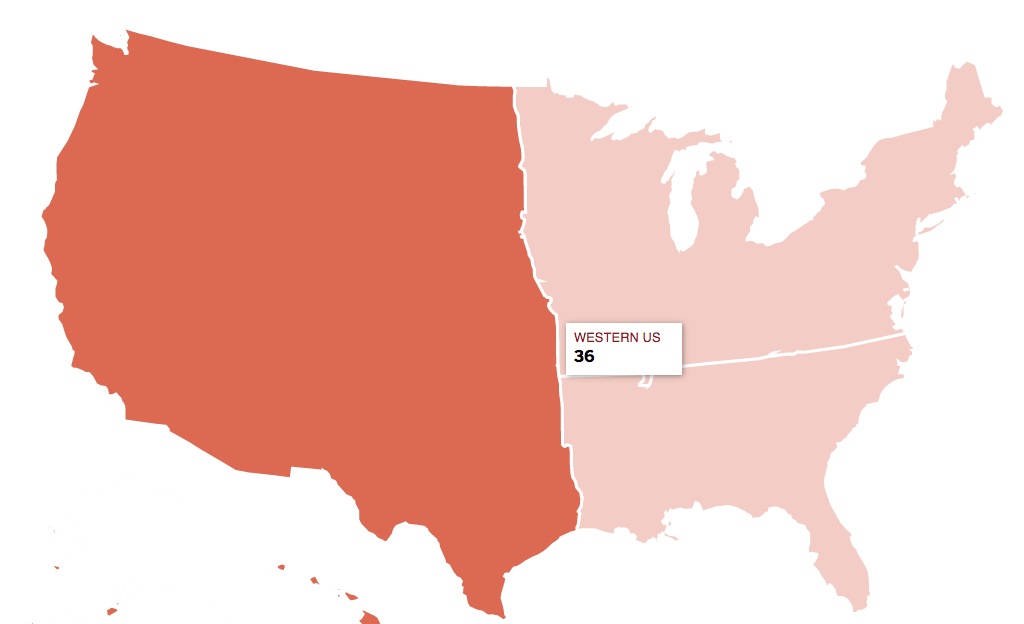
The second column is where we type whatever we want to see when the user rolls over the shape. That can be whatever you want.

And the third, fourth, fifth, sixth, seventh, and forever onward columns can be, well, the actual data.

So now you’re ready to test out your generator!
Copy your data from your spreadsheet, and in baseForm.htm, paste it to try it out.
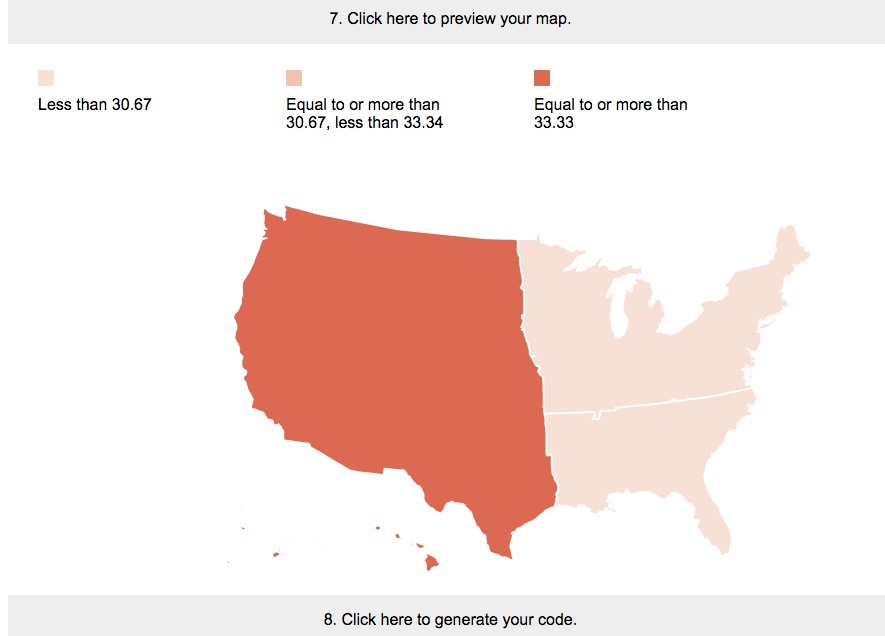
If it doesn’t work at first, refresh it once or twice. If it still doesn’t work, check console.log to see if any errors appear.
If it does work, copy the code from step 8 and then paste it in code.js.
It might seem like a tedious process, but it will be worth it in the end when you can easily generate maps rather quickly.